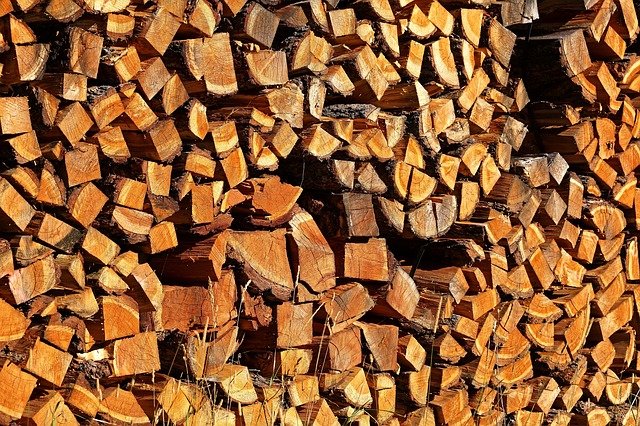
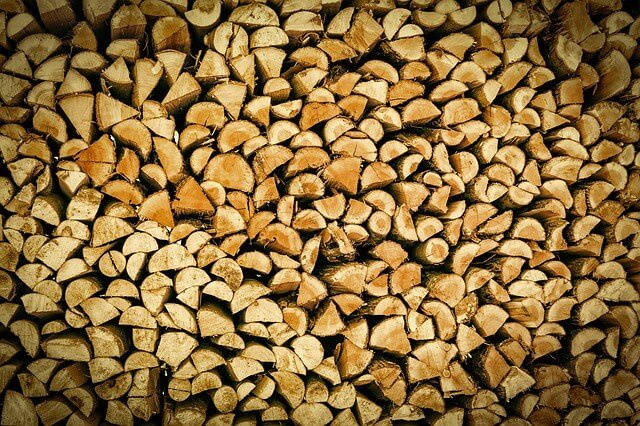
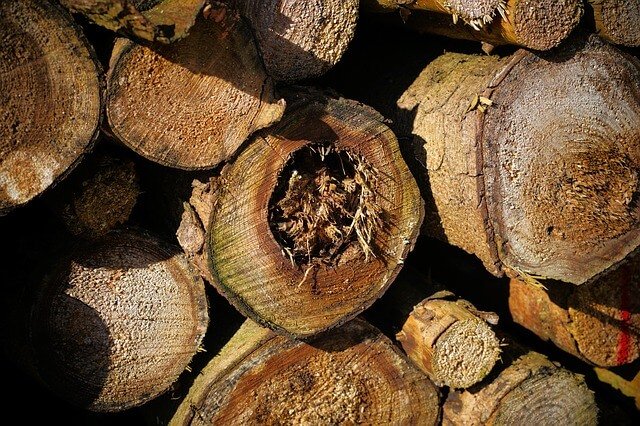
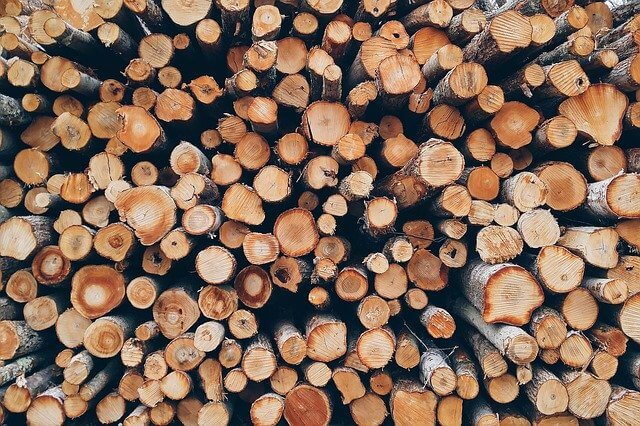
Many of us who love outdoor fires love using wood as a fuel source mainly because it’s cheap and relatively efficient. Still, when it comes to using firewood for your fire pit or outdoor fireplace, there’s a significant rule you have to follow to make it a pleasant experience. The number one rule for using firewood is that it must be dry if you want a nearly hassle-free and almost smokeless fire without small bits of wood popping out. When drying firewood, there are several things you have to consider, such as planning, cutting, and stacking the wood and drying the wood, which we will go into below.
First and foremost, you must plan that far in advance on firewood collection, cutting, and trying to meet the needs of when you want to have a fire. A good rule of thumb is planning about a year in advance before you one actually use the firewood. What this allows is proper drying of the fuel so that all the moisture in the wood is gone, which prevents the wood from not catching on fire quickly, smoke and less heat because of the humidity.
Once you’ve planned out about a year in advance and you have your wood source, the next thing when you talk about is how to cut it so that it will be useful in allowing for the moisture to escape quickly. You want to lower your wood as soon as you can to let the drying process to start. The length that you cut the logs depends on where you’re going to be using the records. For example, if you’re going to be putting this in an outdoor fireplace, you want a measure the opening of the fire and make sure that you cut it slightly smaller than the opportunity to allow a comfortable fit. On average, I cut my firewood about 18 inches for a standard size fire pit. Once you’ve cut the length of the wood now, it’s time to split that firewood into either section of four or eight depending on if you want a to burn quicker or slower. The more articles you cut it, the faster the moisture will escape.
Now once you have split the firewood, it’s now time to stack the wood for drying. The good idea is to buy or make a firewood rack to stack the firewood evenly and for secure handling. The average firewood rack is measured in multiples of four feet. However, you can build your fire pit; however, you like or purchased one in the length of your choosing. Once you’re finished stacking the firewood on the rack, it is a good idea to keep it at least 20 to 50 feet away from a structure to prevent termites from entering that structure on accident. Another thing to consider is the climate in the area where the firewood will be held for drying. If the area is a drier climate, then you may not need to have a canvas or tarp covering the fuel; however, if you’re in a very wet environment, you may need this to keep the rain from soaking the wood. Words of caution when using a tarp is that you will build up condensation from the wood, so don’t follow the tarpon for long periods of time. To prevent the condensation buildup, many people only cover the top logs or build a small roof over the log racks to prevent rain from entering the woods but still allowing ventilation.
This may seem like a lot of work at first, but once you get this going and plan ahead, it just becomes a yearly cycle and will make outdoor fires and as well as indoor fires much more pleasurable and with less hassle.
How to dry wood fast for woodworking
There are measures and considerations that must be taken into account before coming to build with wood. The most important of these is the wiping of wood and carpentry work. There is no doubt that carpentry work is not an easy task, so if you are a principle or even a professional, here are things that he likes to consider before making wood.
Tips in Determining the Moisture Level of Wood
It is essential to determine the level of wood moisture before using any type of wood for carpentry. Usually, carpenters, manufacturers, and hobbyists use the moisture level in a particular forest to determine when and how the wood should be applied. Wood that has a high humidity of more than 25 percent will be a base, low-quality material for furniture or many other things that should be stored behind walls, as they can easily cause mold. For easy level measurement, you can use a hygrometer.
In this article, you will find some steps in determining the level of wood moisture. You can press the play button on your device and then wait for the digital screen to appear. After that, you can adjust the unit by pressing the calibration button. Then, you can press the type’s button to set the standard. You can swipe the screen to get selections.
Now, you can remove the caps from the Ali pin. Squeeze the pins in the wood to the fullest extent possible. Keep it parallel with the pills. After that, you can search for the read button on your device and press it. You will find the measurement result on the humidity meter screen. Now, you can unscrew the screws and units of the wood away. After that, you can replace the pin cap with the device so that you get the best results.
There is a way to measure wood moisture with some support tools manually, but it may take longer. Besides, you can find many moisture meter options on the market that could be your best choice. What you need to do is only define your needs and budget, as you go to some stores and suppliers near your home to get the most suitable for your needs Now that we know the humidifier, you can use your wood properly.
Wood rot will occur in areas subject to elements of moisture and water, such as window sills, fronts and weather panels that limit drain pipes, sinks, and windows.
While these are the areas most susceptible to a recurring problem of wood rot, unfortunately, wood rot is not limited to these areas only.
A saying is that prevention is better than cure. The prevention of wood rot is better than trying to find a remedy that is beyond reach. Usually, it is necessary to replace infected wood, and it will never recover from rot. An effective way to prevent wood rot from occurring in the first place is to make sure that the wooded areas are protected from moisture.
One way to protect the external wooden areas from moisture is to treat the wood and paint it with insulating material. In many of the newly built homes, the builders left gaps not hanging in the outer panels, which although seamless.
If the affected panels are treated and painted, wood rot should not be a problem, but it is helpful to be from this condition from the beginning and be aware of any exposed areas that may become a problem for you in the future if the wood starts to rot and this is what we will look at the distance.
Find different types of wood drying ovens. They use different new and useful technologies such as radio frequency, dehumidification, vacuum, etc. If you are planning to buy a wood stove, there should be different types. These include.
Conventional wood drying ovens – These types of ovens are divided into two parts. One example is called a side loader or a package type. It is similar to reliable wood furnaces. Fork trucks are usually used to load beams of wood into the kiln. The second type of oven is called the track type. It is connected to softwood furnaces where the forest is filled onto track cars to load the stove. Modern examples of the traditional high-quality solid wood kiln. They have different wood drying capabilities, and you can choose whatever equipment you want. Usually, the heat begins with the transported steam, and the heat exchangers are pushed into the tube. These exchangers are controlled by valves, which can be turned on or off. Moisture is eliminated through a secure ventilation system that relies on the creativity of the manufacturer.
Solar furnaces – heat is introduced through high-powered solar radiation. These types of wood furnaces are still traditional equipment and are not used in commercial markets. Anyone can build this kind of oven at home.
Modern wood drying techniques that use controlled air pressure are shown. Today you can find one of the unloading techniques. They use the same mechanism to work with the only difference that arises because of how heat is introduced so that the wood can dry. The most common types of hollow wood ovens are made of aluminum sheets. The water circulates inside the dishes and is heated to serve as a high heat source. The absolute pressure is often maintained to create the vacuum furnace fully operate.
Another type of vacuum furnace is called superheated steam. The function of the system depends on the atmosphere, especially during the introduction of heat into the furnace charge, and this is for the best results.
Then the furnace charge reaches full air pressure, and the air chamber is heated. SSV wood drying ovens are commonly used in Europe.
Wood dehumidification ovens – Typically, a wood dehumidifying oven looks like a traditional oven. Both ovens are built similarly. The heat is mainly introduced through the typical dehumidification section, which also removes moisture. It is also one of the widely purchased wood ovens.
Radiofrequency wood furnaces – These types use microwave radiation to heat the furnace charge. The oven uses electricity.
Which is very expensive when compared to kilns that use fossil fuels. This oven is one of the best and most efficient, although expensive.
Although wood drying techniques continue to emerge, they pose some risks to the environment, which are not safe. Manufacturers realize this and often base their innovations on it. The wood oven is one of the most useful and comparable with some of its equipment, which is one of the cheapest materials. You should rate the amount of drying or burning you want to use the oven for. On the market, you can find equipment that meets your complete needs.
If you are outdoors – choose a dry and sunny area
Keep in mind the proper storage of firewood that keeps your wood dry and in good condition throughout the winter, regardless of the significant US you live in.
Keeping wood outside, for everyone not lucky enough to get a lot of covered verandas or a basement storage area in the building, means your firewood storage rack has two main requirements: Postpone the floor with a tight covering. The elevator is an essential and unobtrusive one because it prevents the bottom of the pile from always staying hydrated, as well as from. The ground will also be rough, and the deck under the collection will collapse throughout the winter. Concrete may better withstand, but it can allow water to collect under woodpiles.
Many shelves are made of metal and have legs that contain a pile above the ground. It keeps the wood dry and keeps the bottom layer rotting and damaged. Many also include plastic sheeting to keep out rain and snow. Wherever you are in the UK, you will not want to go back to a cold home that you cannot heat up with wet wood. If you do not have a shelf for storing your firewood protective cover, you will find one cheaply.
For internal firewood storage, you will only need a box or perhaps a shelf for arrangement. Hold ledges and logs together and gather bark.
Along with another wood residue before you stack it around the hardwood floor or reach the carpet. Some baskets and indoor shelves can be used to help with pregnancy. High shelves include poker, brushes, and dust compartments to keep the fireplace stylish.
Wood is usually sold by wire – a pile of wood 8 x 4 x 4 inches – and cost changes in terms of wood type and quality. For the best fires, use treated wood for at least six months after its split before burning, and make sure that all moisture leaves the wood as it burns in a massive fire. If you don’t know who to buy firewood from, get it early to help dry it for some time. Another solution, if you have time and equipment, is also to cut and split your wood. Doing the work yourself gives you complete control over quality and readiness.
Wood components and wood moisture measurement
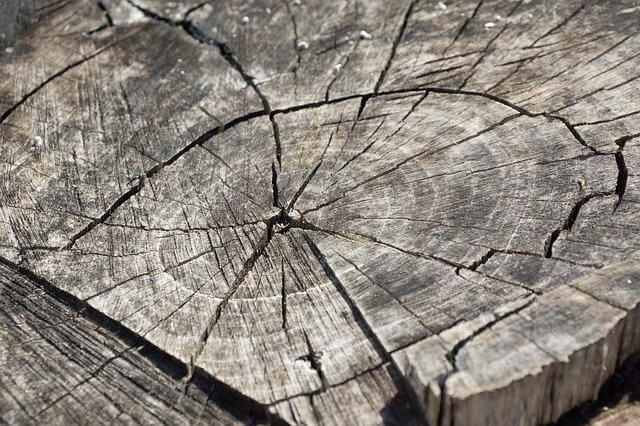
The crack is a small crack that occurs in the last grains of the plank. These gaps can increase in size to form a crack. The break is usually the separation of the grains into the fibers that make up the wood. Each piece of wood will be checked while dried. This can happen, but it varies among tree types. Everyone will benefit.
Greenwood, (greenwood is wet wood) the surface begins to dry out; Shrink wood also dries. Wood fibers dry on the outside of timber at a rate different from that of internal timber. This is normal. As the moisture evaporates from the wood, the exterior is faster, and the interior is relatively slower; the outer wood shrinks around the inner wood, which is more moisture and more significant in size; So the outside will shrink as it contracts around the center moisture wood. If left alone, these small cracks will continue to grow and make the wood useless.
There are ways to prevent or slow down checks. To do this, you should slow down the evaporation process from the wood. One way is to paint the ends of the forest with wax (Anchor Seal is suitable), and this will help but not in all types of wood. The surrounding environment has a lot to do with drying wood? Do you live in a cool, humid area or live in a dry, hot place?
Wood can be cut into different sizes for future use and then stored in a cool, dry place with proper ventilation. There will be some suffering with this method, but usually, you can work around it. This type of drying takes longer and requires more room to straighten the woods.
Can a Crawl Space Dehumidifier Help Reduce Wood Rot?
High humidity can cause dangerous wood to rot in the crawl space. As we all know, a high humidity level is the best environment for the growth of microorganisms in your crawl space. These microorganisms are the leading cause of wood rot for your crawl space. Without properly removing moisture, the wood rot due to moisture will destroy your crawling area in the long run.
Before we start looking for ways to combat wood rot in the crawl space, we must first understand the basics of wood. Wood consists of 3 main parts, which are lignin, cellulose, and hemicellulose. Wood rot occurs when fungi attack those three parts by digesting wood cells.
According to our studies, at present, with sufficient oxygen, moderate temperature (usually between 42-98 degrees), and excessive moisture, wood in the crawl area is likely to decompose at a very high speed. If you decide to ignore the problem, studies show that decomposing timber in your home can lead to a 12% drop in the value of the property in your home.
As a result, it is essential to get rid of the moisture problem in the crawl space before it becomes hazardous. Proactive action plays an important role here. You should always check your house to make sure there is no excessive condensation of water moisture on the window or the surface of the wood that has changed color since it is usually a warning sign of excessive moisture in your home. If you continue to ignore the problem, you will realize the growth of mold stains and unpleasant odors throughout your home and your crawl space.
Once you are sure that the moisture problem must be fixed, what you should do is know the source of the moisture. Check for any leaks or cracks in your house that may lead to condensation of water moisture. This will allow you to prevent any unnecessary moisture from reaching your home.
You should consider purchasing a crawler dehumidifier that still exists after repairing all these leaks and cracks. For the value of your home or the health of family members, it is essential to control the level of humidity in your house at a moderate level to prevent mold growth or wood decay.
Dry wood usage tips
If you have a fireplace and intend to use it, you must use wood that is properly prepared. If you light freshly cut wood or store your firewood in piles on the ground, you will have problems as the wood will be damp and green, and if you do manage to get it to light, you’ll end up with a lot of smoke and not much fire and heat. When you get your firewood, split it and store it off the ground, arranging the wood so that air can dry the wood out. This will ensure a clean, hot burning fire.
The best way to store firewood is in wood sheds, designs for which can be found online and in magazines. They are a great do it yourself project, plans to be such that beginners can build one in as little as a weekend, with materials costing significantly less than those needed to make a garden shed. What you need to realize before starting that most people sell wood by the cord, a cord being a stack 8′ x 4′ x 4′. As a result, wood sheds designs will have been developed to hold one or more wires of wood.
Wood Sheds come in one of two basic styles. The first has a pitched roof and looks like a garden shed except that it only has three sides and a roof. These firewood sheds have foundations or racks on top of the ground on which the wood is stored. This design protects wood from pests, groundwater, and bad weather on all sides, the open front still allowing for airflow, which dries the wood.
The second style works excellent in drier areas but where you have damp or wet wood. The woodshed has a mono-pitched roof (basically half of a pitched roof that is higher at the front than at the back) but no sides at all. Wood can be stored on racks or on the floor if a gravel bed or moisture-proof barrier has been laid first. The bottom layer of wood may become unusable over time, but it is a much cheaper option than digging a foundation. The mono-pitched roof protects from the rain; the open sides allow for a lot of airflows that speeds up the wood drying process.
So what should you look for in wood sheds design plans? Firstly, whichever style you select, the finished building should be high enough that you can get in and out without having to bend over. It should also not be so large that you have to struggle to get to the wood in the back. Finally, the pitch of the roof should be such that rain and snow runoff and don’t collect on the roof…
Once you have purchased your plans, you need to decide the location of your wood store. You need to balance ease of access with sunlight and wind. In the winter, you want to be able to quickly get your firewood without having to trudge across your yard in the rain or snow, but you also need the wood to be dry, so it will burn clean and hot.
The best time to build and stock your woodshed is in the spring. The weather is good for working outside, firewood is typically at its cheapest, and you have all summer and fall to dry and age your wood. After your first winter, you may find that you have some firewood leftover. When you are restocking your woodshed, remember to rotate out the old wood. This will ensure that you are using the driest wood for your fire.
Finally
We intend that we have reached our goal, which is to provide you with information on how to dry wood quickly for carpentry work. Also, all you need about storing wood and preventing wood rot. If there is a specific topic you would like to address, leave us your comments.
